Army Green Archer Dress (My 100th Blog Post)

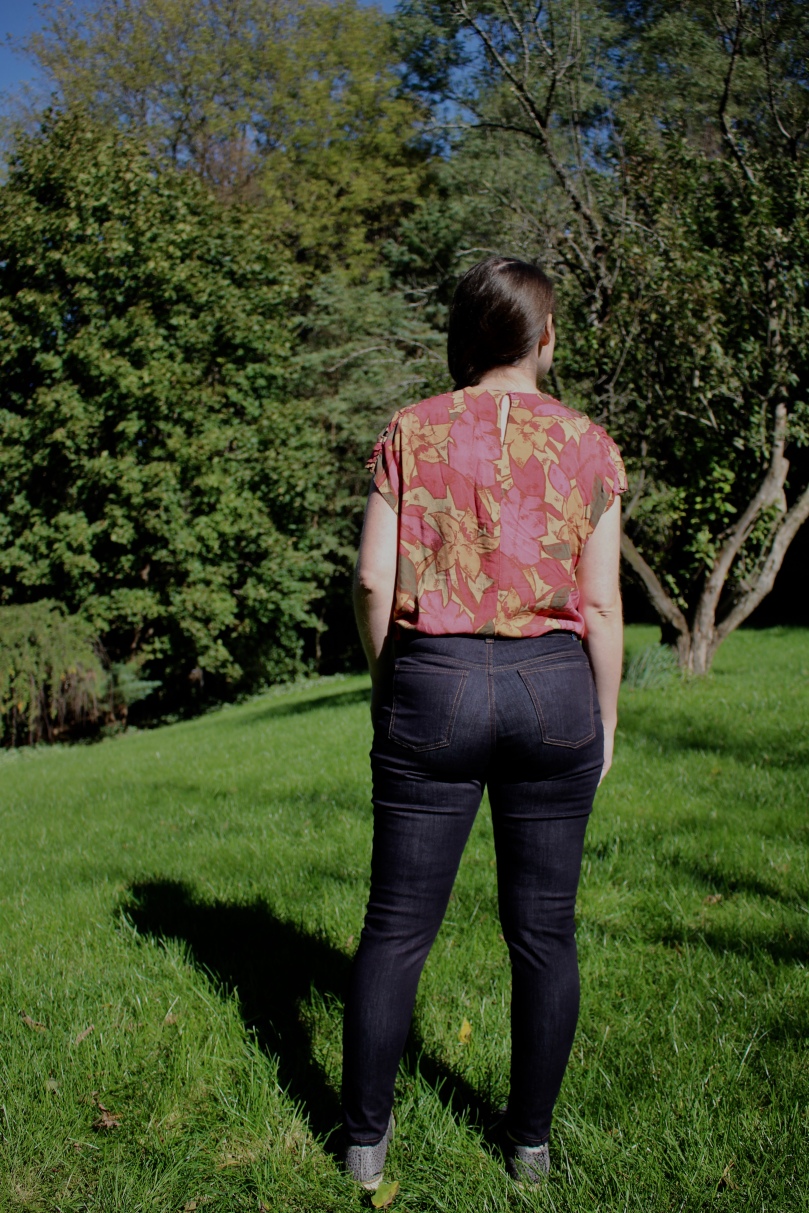
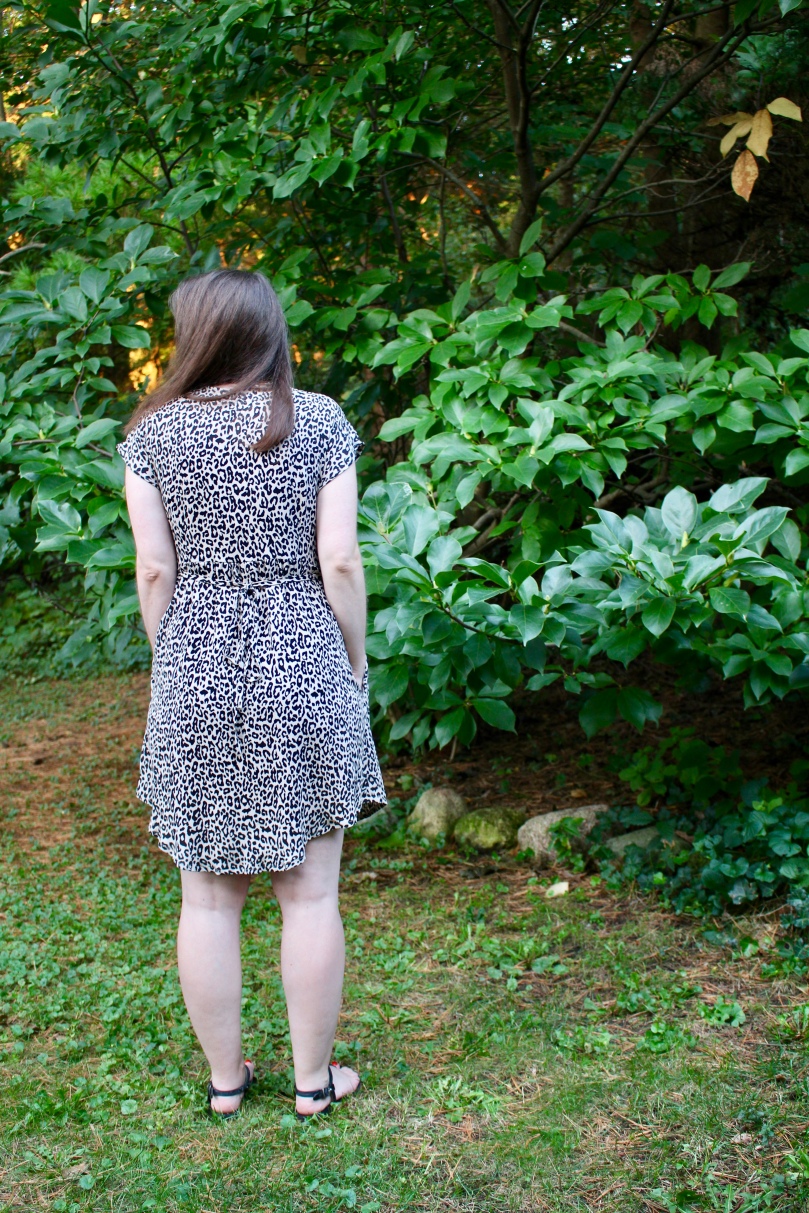
So… this is my 100th blog post which is bananas! I like documenting the things I’ve made but I’m also running out of free photo storage on wordpress and I’m not sure that I want to pay to have a blog. I would still document the things I’m making on instagram and take more notes in a journal or just on my personal project tracking spreadsheet. I should look in to the options and maybe re-upload some of my earlier photos in a more compressed size before I do anything too drastic.

IMG_8206

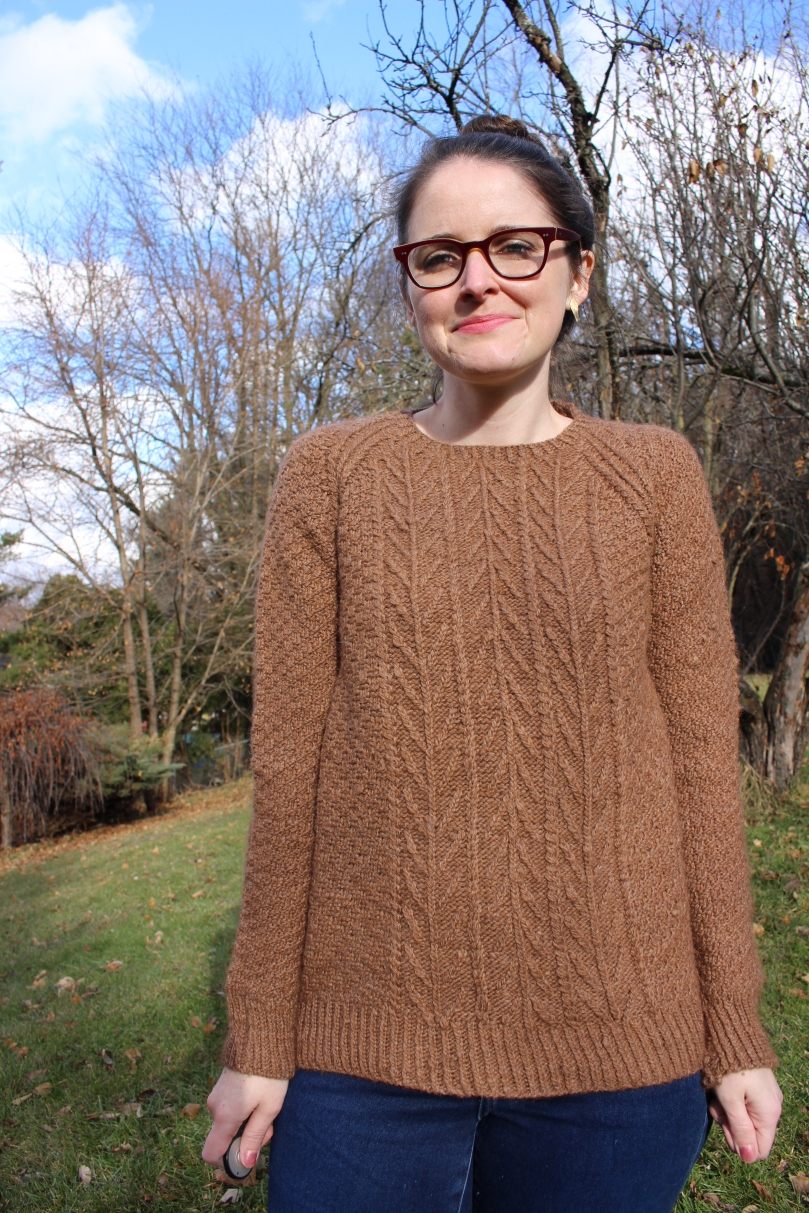
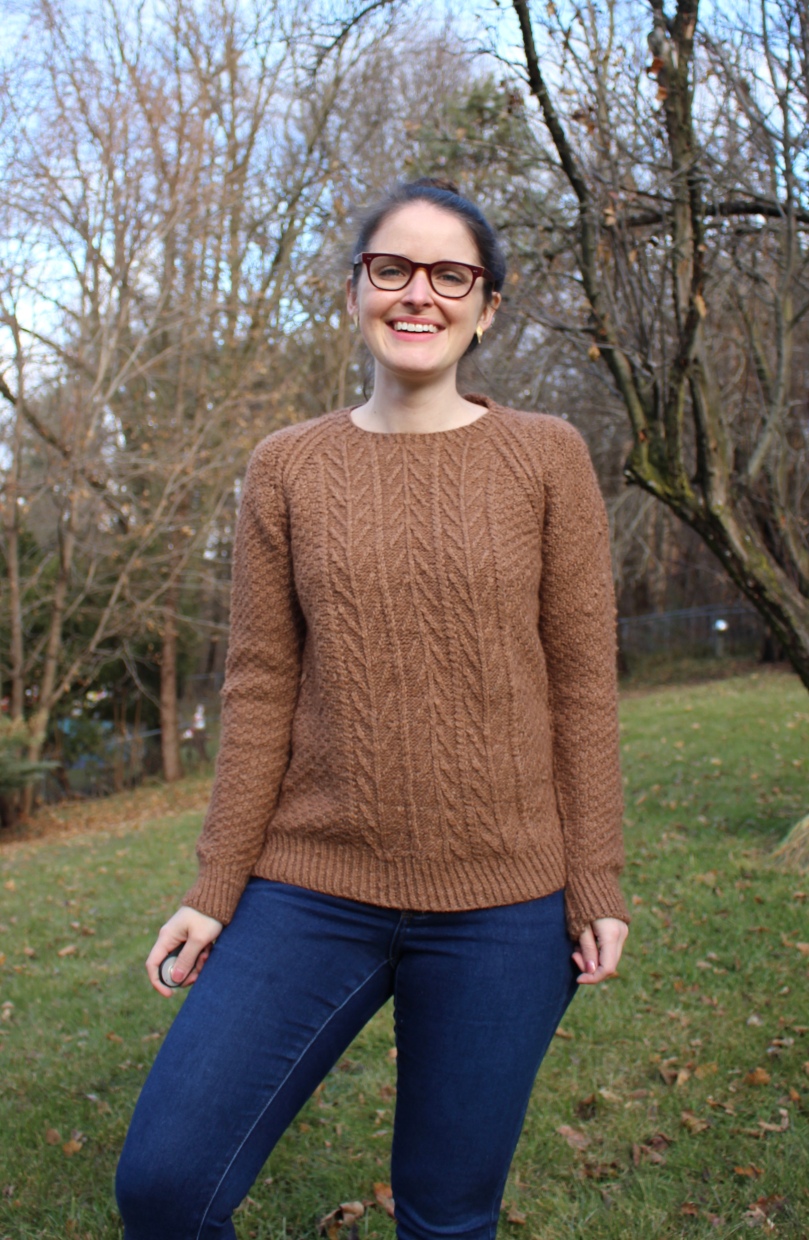
This is my fifth time making the Archer Shirt by Grainline studio but this one is a bit different from my previous versions. In the past I made a green and navy plaid flannel version (which was the second thing that I ever blogged and probably one of my most worn makes!), a chambray dot version, a white and grey plaid flannel popover version and a red flannel version. This is the first version where I’ve done any hacking. The most obvious change I made was to lengthen to a dress. I added a bunch of length and flared it out starting at the waist to make sure I would have enough room in my hips. I ended up taking it in a bunch in the hips after basting the side seams because I went a little overboard when adding extra room.

IMG_8199

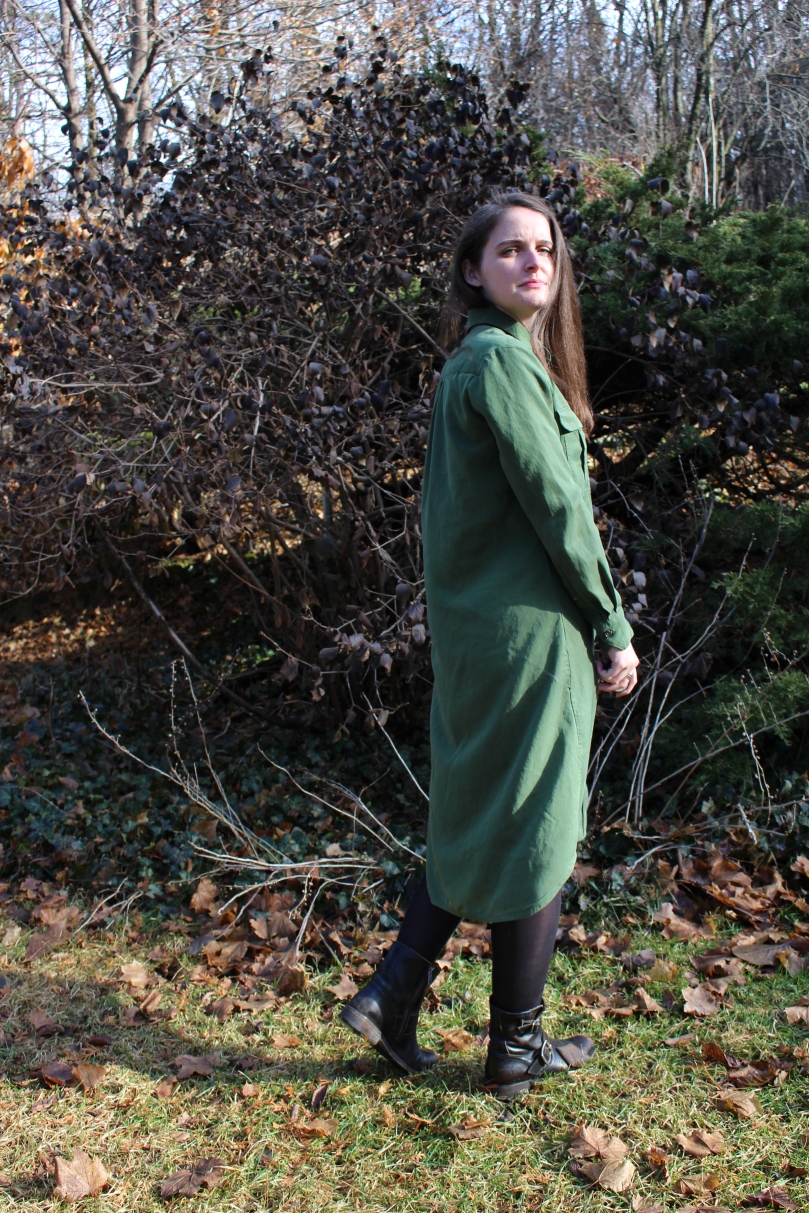
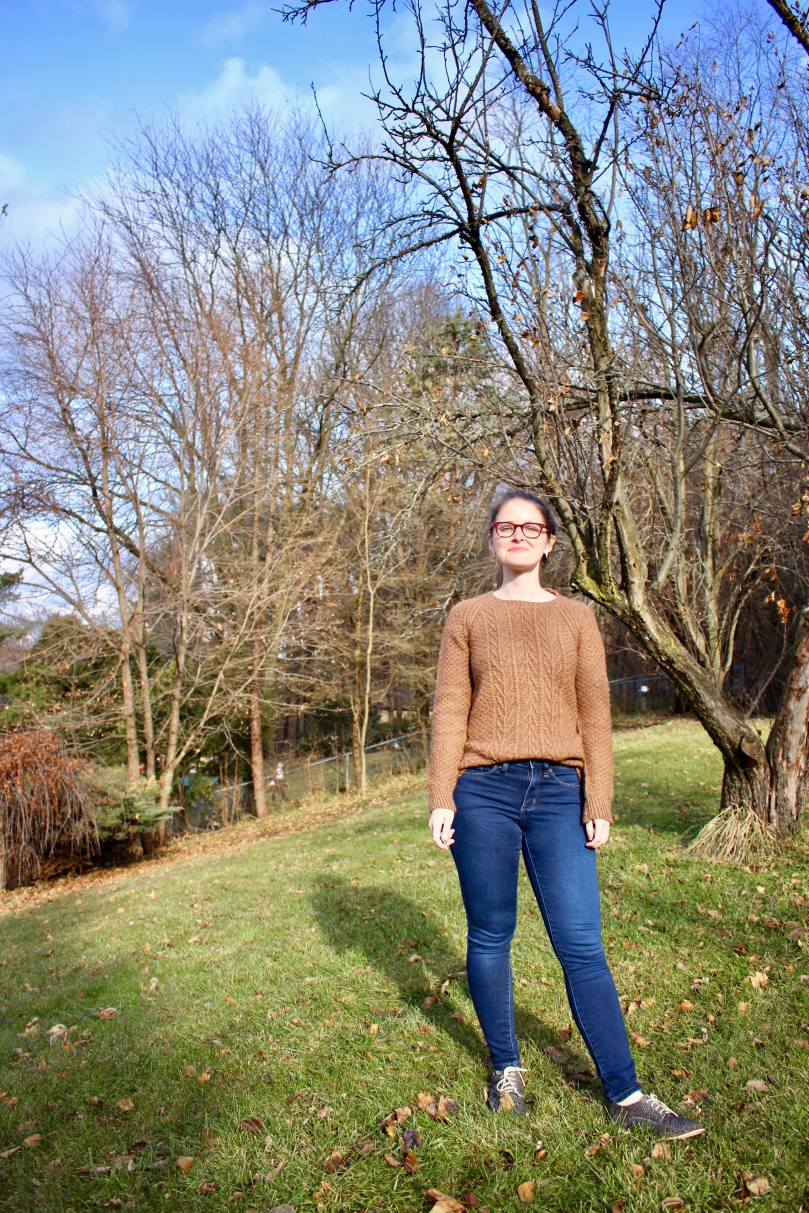
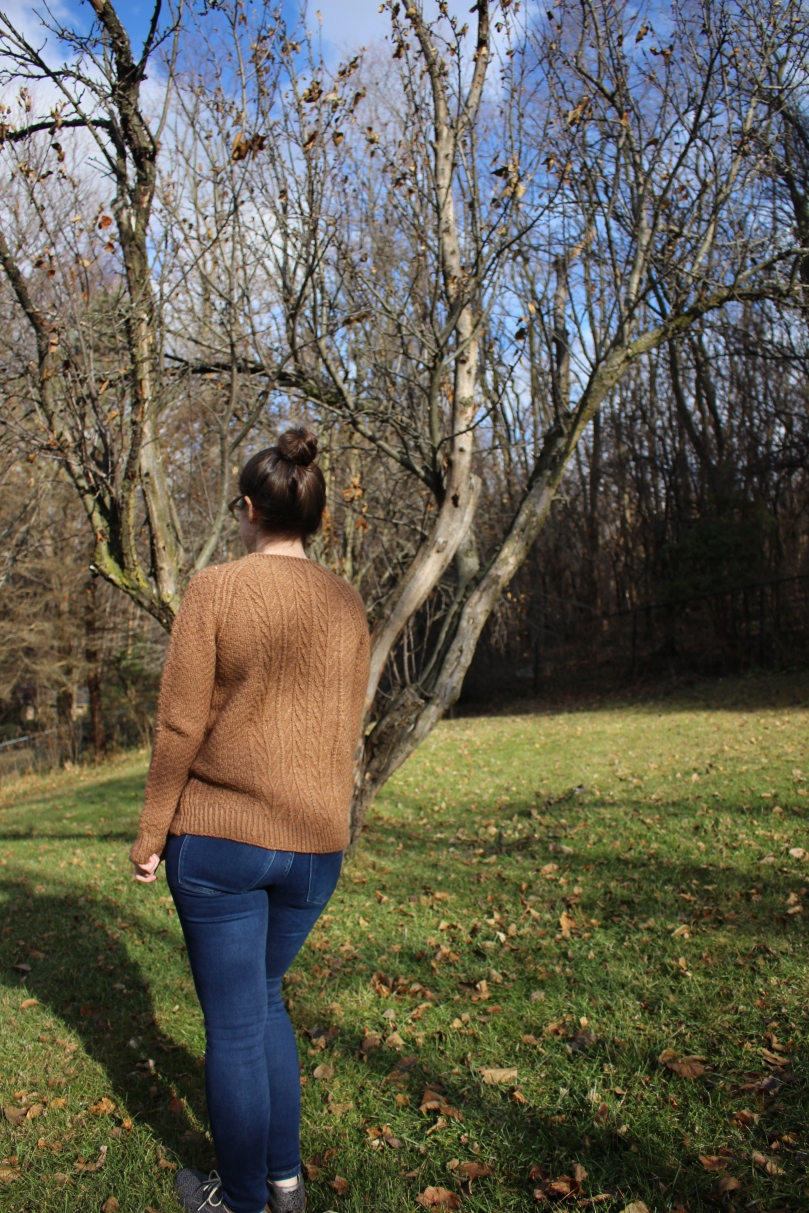
I left the dress a midi length with a lower hem in the back than the front which I think looks modern and cool but may not be the most flattering on, especially with these boots. I also made a belt to wear with it which gives some waist definition. For the belt I just used the belt from the Closet Case Patterns Amy Jumpsuit which I had used before with my actual Amy Jumpsuit. Just like my actual Amy Jumpsuit I had to add a seam at the back of the belt because there was just no way that I was going to be able to cut that as all one piece.

IMG_8216

The other change I made to this pattern was to hack the pockets to give them more of a military vibe to go with the army green fabric. I used the same pattern piece as the original archer pattern but I added two inches to the width. I then just folded the pocket in half and sewed one inch from the folded edge. Then when you lay the pocket flat and iron it then it creates the pleats on the front pocket. I basted those down at the top and bottom and then continued with the pattern as directed. For the flap I just used the width of the original pocket and then just made it as long as I wanted it to overlap plus seam allowance.

IMG_8218

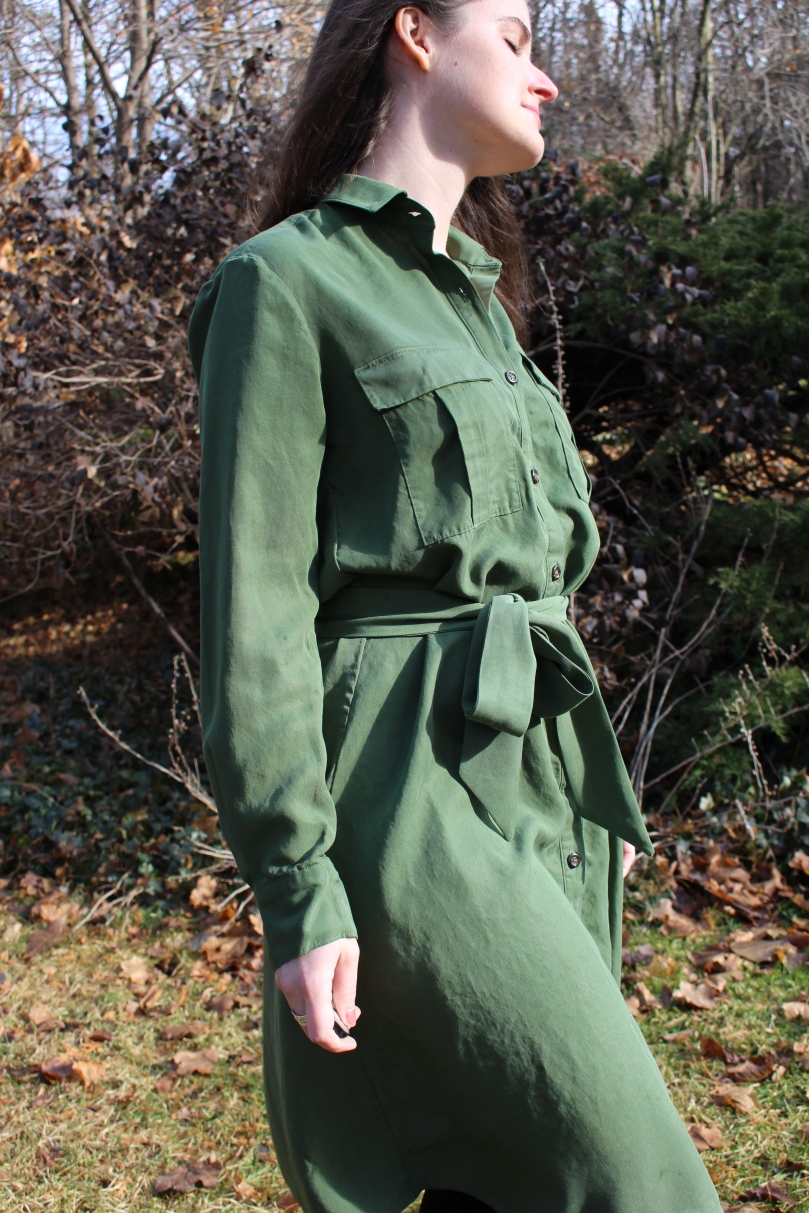
The fabric is tencel twill from Blackbird Fabrics. I originally bought this fabric a while ago with the intention of making an Archer button up with these pockets but I just sat on the idea for a long time. I finally decided to do it but I realized I had enough fabric for a dress length version. I honestly feel like I would get more wear out of a shirt than the dress (in part because its really cold in Wisconsin and I’m not wearing a lot of dresses right now). I figure I can always change my mind later and make it in to a shirt. But if I made the shirt, it would be much harder to make in to a dress later if I changed my mind.

IMG_8227

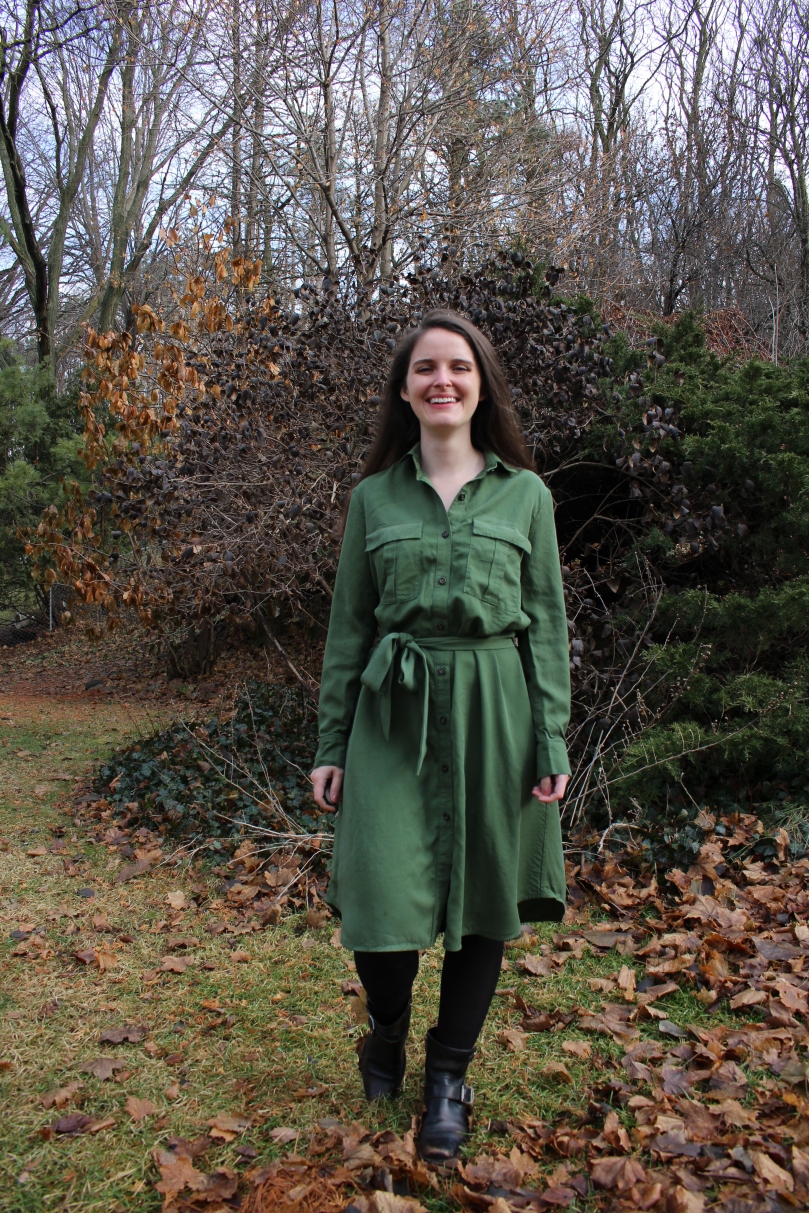
I’m super happy with how this turned out – especially the pockets! They ended up being pretty easy to put together and I’m excited to have another long sleeve dress since I don’t have many.

Cascades Sweater

Two years ago I included the Cascades Sweater by Michelle Yang in my 2018 Make 9. I started it in 2018 and was determined to finish it in 2019 so I included it again in my 2019 make 9. I just barely got it completed in 2019!! I’m so excited to be finished with this sweater and I’ve been dreaming up what I’m going to knit next (hint: definitely not a sweater).

IMG_8251

This is really the first sweater that I’ve knit (well… finished knitting). I made a giant oversized sweater coatigan thing and a sweater vest but never an actual sweater. I was a little worried about the fit but I’m really happy with how it turned out. I made the size 38, which may be a bit roomy in the shoulders. I maybe could have shortened the bodice by an inch or so but most of my sweaters are a bit long so it might feel weird to have it shorter.

fullsizeoutput_1d08

Because it is a bit long I tried the front tuck which is supposed to make your legs look longer and I think it looks pretty good but I may play around with it a bit.

My parents actually had the yarn for this sweater spun for me from wool from alpaca and sheep on their farm. The sweater is really soft and beautiful and is this really lovely caramel color. There are a couple spots in the yarn that are a bit knobby but that is the beauty of handmade things. There are also definitely some spots in my knitting where I messed up but you don’t really notice them unless you are looking for them.

IMG_8277

I spent way too long trying to knit the sleeves two at a time which I’m glad I did because I love knitting things two at a time but it definitely would have been faster and easier to knit them one at a time since I messed up so many times trying to figure out how to knit them two at a time. I really liked knitting the sweater in the round from the bottom up and then making the sleeves and joining everything. I don’t mind sewing the pieces together but it was really nice to have it all just knit together.

fullsizeoutput_1d0a

I started a sweater a while ago that I need to frog but definitely want to try again with that sweater eventually. Until I’m ready to do that I’m excited to knit up some hats and socks and maybe a scarf.

Lacy Wool Sweater Knit Hemlock

I got this incredible wool fabric from Stonemountain and Daughter while I was there for Thanksgiving in 2017. I didn’t want to use a pattern that had too many seams or too much going on because I didn’t want to distract from the lace pattern. I chose to use the Hemlock Tee pattern by Grainline Studios and I used all of the same modifications from my cloud knit version. I wear the cloud knit version all winter so it made sense to add another one to my closet. Also – did you see that Grainline Studio updated their Hemlock Tee? I’ve made so many modifications to my version but the new version comes in their expanded size range and also with different sleeve lengths and body lengths!

fullsizeoutput_1c7b.jpeg

This fabric is amazing to work with – its just so soft and cushy. It is definitely one of the more expensive fabrics that I’ve purchased but it is totally worth it. I’ve found that when I’m working with a fabric that I really love the whole time I’m sewing the garment I just love the process that much more.

fullsizeoutput_1c76.jpeg

The fabric definitely doesn’t have much stretch to it just hangs a lot differently from fabric that I’ve used in the past for this pattern. This is especially easy to spot around the neckline. It doesn’t really stay on my shoulders as much as some of my other versions. However, I’m not super worried about this. I’m always planning on wearing this with a tank top due to the lace but also because the wool is just a bit too itchy for me.

fullsizeoutput_1c73.jpeg


Ash Jeans

I’ve been wanting to make another pair of jeans for a while but since I’ve been struggling so much with fit on my jeans I’ve been putting it off. Previously I’ve made three pairs of Closet Case Patterns Ginger Jeans (a high waisted pair, a low rise pair with grey topstitching, and a low rise pair with gold topstitching) and one pair of Ginger Jean Shorts. My fit has definitely improved with each version but there are still issues. I decided to switch it up and this time make the Ash Jeans by Megan Nielsen in the Robert Kaufman Super Stretch Denim. I figured that the super stretchy fabric that the ash jeans calls for would be more forgiving than the thicker cone mills denim that I used for my second and third pairs for Ginger Jeans.

fullsizeoutput_1c96

Based on my measurements I cut out a size 28 at the waist and graded out to a size 29 at the hips. Instead of just removing length from the bottom of the pants I added two lengthen and shorten lines, one above and one below the knee. I shortened by 1” in each spot for a total of 2 inches shorter. As I was cutting out I also cut 2 Inches off the bottom of the legs because I messed up the cutting layout and had to do that to get all the pieces to fit. When I did the baste fit I had a little extra room at the waist. I took the side seams in 3/8” at the waist tapered to nothing at the hips. 3/8″ doesn’t seem like a lot but since it takes off from the front and back piece on the left and right side it ended up removing a total of 1 1/2” all the way around. Before hemming them I removed an additional 1” of length from the bottom for a total of shortening the pants by 5 inches. Next time I’ll distribute that to the lengthen and shorten lines that I added which will make the pants a little closer fitting at the ankle.

IMG_8186

This time I used the Guterman Mara Topstitching Thread which is a lighter weight than the topstitching thread from JoAnn’s that I’ve used in the past. It is definitely more subtle than the heavier topstitching thread. I’m not sure if it was the topstitching thread or that this denim that was less bulky than my previous denims or the fact that this is now my 5th time making jeans but while I was making these I kept thinking that making jeans was SO MUCH EASIER that I remembered. I would definitely recommend the Robert Kaufman Super Stretch Denim with the Guterman Mara Thread for anyone making their first pair of jeans!

IMG_8185

Overall my first pair of Ash Jeans fits way better than my first pair of Ginger Jeans. I’m not sure at this point if I’ll try making the mid-rise Gingers next or make another pair of Ash Jeans next. For either pair I think I need to remove just a little room from the center crotch seam. I may also look in to weather there is anything I can do to reduce the drag lines on the back thigh though I know there is no way to get rid of them completely.

fullsizeoutput_1c92

Also – I got this shirt at a thrift store when I was in college and I think it would be super easy to hack a boxy top pattern to have gathers at the shoulders like this one

Leopard Print Fringe Dress

fullsizeoutput_1c6c

Last week I posted about my top version of the Fringe Dress by Chalk and Notch and immediately after making that I made the dress version. I definitely wanted to make the Fringe Dress this year (it was on my 2019 Make 9) and I figured that if I was going to be able to wear it before it got too cold I needed to get on it.

fullsizeoutput_1c70

My measurements put me at a size 0 bust and a size 6 waist. I decided to grade from size 0 bust to size 4 waist since I would still have plenty of room at the waist with a size 4. I also shortened the bodice by 1/2” and shortened the skirt by 2” (I’m 5’2″ for reference). I modified pockets to be sewn in to the waist seam to keep them in the front. I didn’t top stitch the pockets down. I also attached the waist ties to the front bodice darts but I’m not sure that I love them there. I’d probably either add them to the back darts or side seams or leave them off completely next time. I also left off the sleeve cuff and just turned up the edge twice and stitched it. 

IMG_8126

This fabric is a bit out of the norm for me. It is a viscose crepe from Blackbird Fabrics. I’m not usually an animal print person but I decided to try it out. I love that it is neutral colors but still fun and interesting. I’m excited to wear it with tights and boots and cardigans this fall! I also have a little bit left over and might be able to squeeze a tank top out of it.